Early August is made for low-key stargazing: warm evenings, kids (and adults) willing to stay up a little later, and that “let’s do something outside” energy that doesn’t require tickets or planning weeks ahead.
This backyard astronomy night plan is intentionally simple. You’re not trying to “do astronomy” the right way—you’re creating a relaxed, family-safe experience where everyone can spot a few bright things, learn one new fact, and head inside feeling like the night was a win.
One important note up front: what you can see depends on your location, light pollution, cloud cover, and the Moon’s brightness. So we’ll keep targets beginner-friendly and show you how to verify conditions for your exact night without guessing.
A 45-minute plan: step outside, find a few bright targets, call it a win
0–10 minutes: Set the window. Aim for “after dusk” rather than a specific clock time, because twilight varies by location. If you can, choose a stretch when you won’t be rushed—weeknights work fine if you keep it short.
10–20 minutes: Check three things (quickly). Look up: (1) cloud cover in the next hour, (2) temperature/wind (comfort matters), and (3) how bright the Moon will be. A bright Moon is still beautiful—but it can wash out fainter stars, so set expectations accordingly.
20–45 minutes: The ‘find 3 things’ challenge. Pick three easy targets and stop there. Examples that usually work for beginners are: the Moon (if it’s up), one bright star, and one simple constellation pattern you can recognize.
Optional 5 minutes: A fun “before we go out” cue. Play a short, kid-friendly NASA video about the night sky or planets, or read one quick fact card. Keep it light—this is entertainment and curiosity, not homework.
What to bring for comfort and visibility (simple, low-cost)
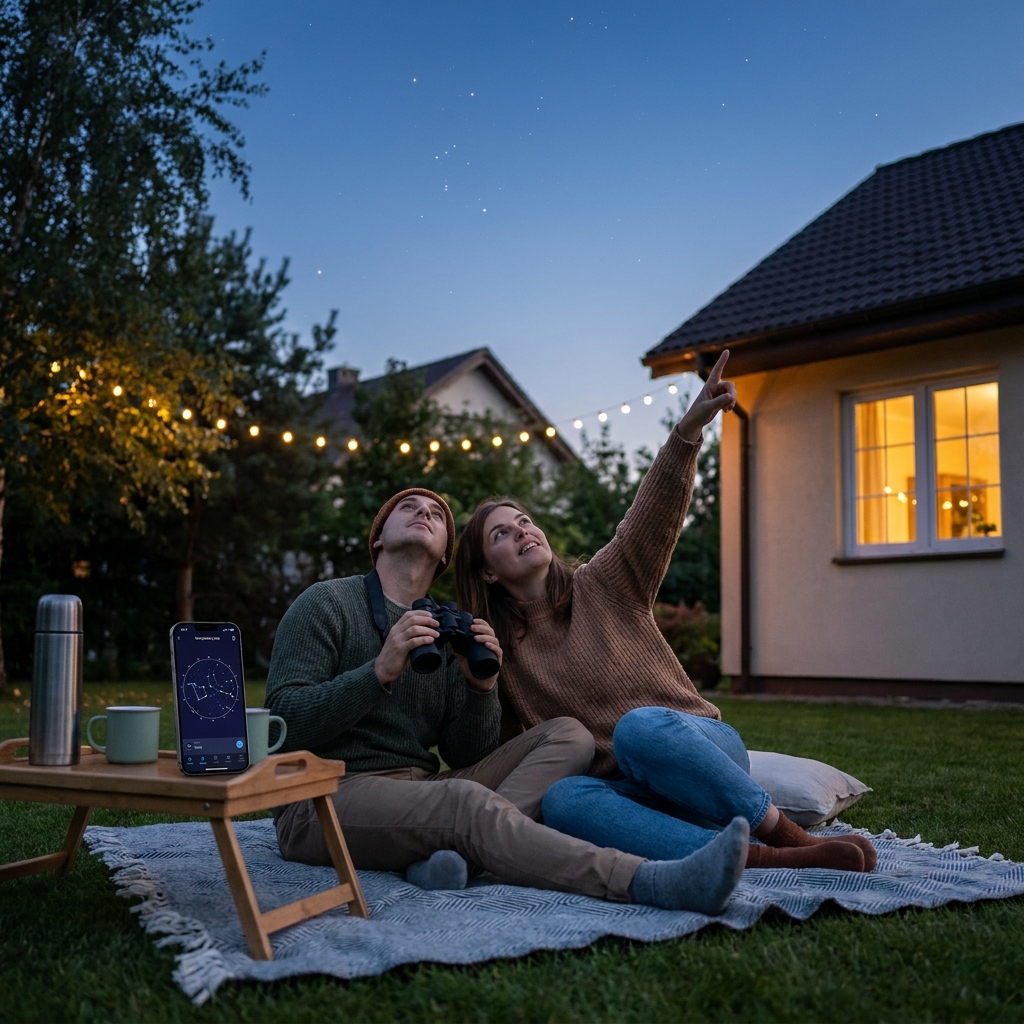
The best beginner setup is the one that keeps everyone outside long enough for their eyes to adjust. Think “camping cozy,” not “science project.”
- Seating: lawn chairs, blankets, or a picnic quilt so you can look up without neck strain
- Layers: even warm days can turn cool after dark; add socks or a light jacket
- Bug comfort: general insect protection (whatever you normally use outdoors) and consider long sleeves if mosquitoes are common
- Low light: a flashlight with a red filter, or use your phone’s night mode/dim setting to preserve night vision
- Simple “target tracker”: a notepad or printed page with three blank lines: “I spotted…,” “It looked like…,” “One question I have…”
Light management tip: turn off porch and patio lights if it’s safe to do so, and ask family members to keep screens dim. Even small changes can make stars pop.
What to look for without a telescope (and how to keep it beginner-friendly)
For early-August stargazing for beginners, the goal is recognizable and satisfying—not rare. Start with the brightest, easiest targets and build confidence.
- The Moon: if it’s visible, it’s the easiest “wow” object. Notice the shape (phase) and any darker patches—no special gear required.
- Bright stars: pick the brightest star you can find and notice its color (some look slightly blue-white or orange).
- One constellation pattern: choose a well-known, simple shape rather than trying to memorize the whole sky. A sky app can help you confirm what you’re seeing.
- Planets (only if verified): planets can be bright and fun, but which ones are up changes by date and location. Use a reliable “tonight” tool to confirm before you promise anyone they’ll see one.
If someone asks, “Is that a planet?” a safe rule of thumb is: stars tend to twinkle more than planets, but don’t treat that as a guarantee—verification is better than guessing.
How to verify the night sky for your location—without guessing
Here’s the low-stress way to use beginner stargazing apps (night mode on!) without falling into information overload: check, confirm, then put the phone down.
- Weather first: use an hourly forecast to see cloud cover and visibility for your exact window.
- Moon brightness: look up the Moon phase for your date; a brighter Moon can mean fewer stars, especially in the suburbs or city.
- “What’s up tonight”: confirm whether any planets are visible where you live and at what time.
- Light pollution reality check: if your area is bright, plan for “bright targets only” and consider a nearby park if it feels safe and allowed.
Cloudy-night backup (still fun): do a five-minute “space visuals” mini-night indoors—NASA images or a short video—then make hot cocoa and try again another evening. The point is the ritual, not perfection.
Printable idea: create a one-page backyard stargazing checklist plus a 3-target tracker and a “verified?” box next to weather, Moon phase, and planet visibility.
Sources
Recommended sources to consult for verification (especially for your exact date, time, and location):
- NASA (nasa.gov) — beginner stargazing tips, educational videos, and skywatching basics
- Sky & Telescope (skyandtelescope.org) — night-sky observing guidance and seasonal sky notes (verify dates)
- Time and Date (timeanddate.com) — Moon phases, sunrise/sunset/twilight times, and “night sky” tools by location
- National Weather Service (weather.gov) — local hourly forecasts and cloud/visibility checks
- International Dark-Sky Association (darksky.org) — light pollution education and dark-sky-friendly practices
Verification note: avoid promising specific planet visibility, meteor activity, or exact Moon timing without checking one of the sources above for your location and the night you plan to go out.